
Quick diagnosis
The transition itself is not enough to identify the problem. Count orange flashes and note whether they occur before the head spins, during capsule reading, or after the pump starts. Those timing clues separate warm-up, closure, capsule, and maintenance conditions.
What this symptom usually means
The rhythm matters more than the color alone. Count the flashes, note whether they repeat, and record which buttons are illuminated. Many machines use the same color for heating, maintenance, closure problems, and faults.
Model-specific context: Vertuo Next uses the capsule barcode and head rotation as part of the brew sequence. A clean capsule rim and fully locked head are basic checks.
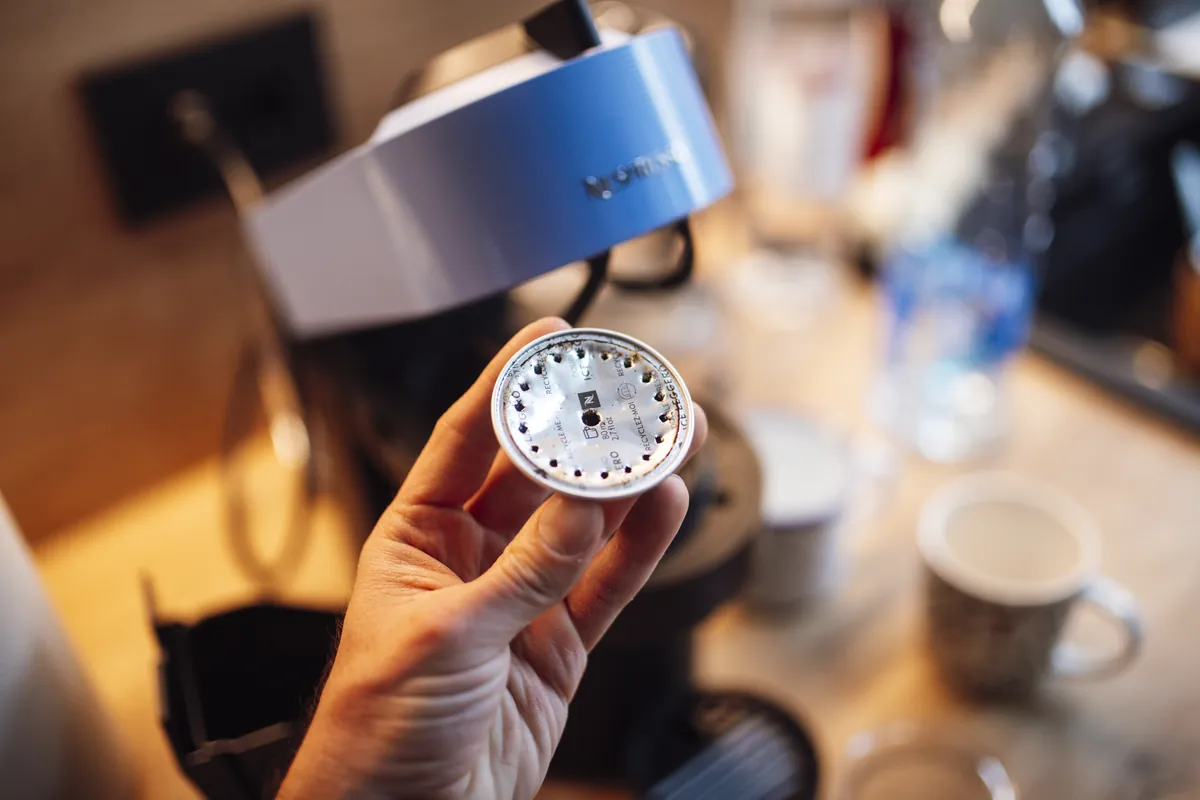
Clues to record before touching the machine
The fastest diagnosis comes from recording the machine's state before it is changed. Use your phone for a short video and write down whether the symptom occurs at startup, while heating, during grinding, after the pump starts, or during shutdown.
- Orange begins before any pump sound
- Head spins but no water follows
- Pattern started after cleaning the head
- Record a 15-second video of the full repeating pattern
- Count flashes between pauses
Most likely causes, in diagnostic order
The list below is ordered from common and externally testable conditions toward causes that may need qualified service. It is not a replacement for the error table or safety instructions for your exact model.
- Capsule is not read
- Head lock or position is not confirmed
- Normal warm-up or cool-down
- A maintenance reminder
- Tank, tray, lid, or brew-group position is not detected
- The controller has logged a fault
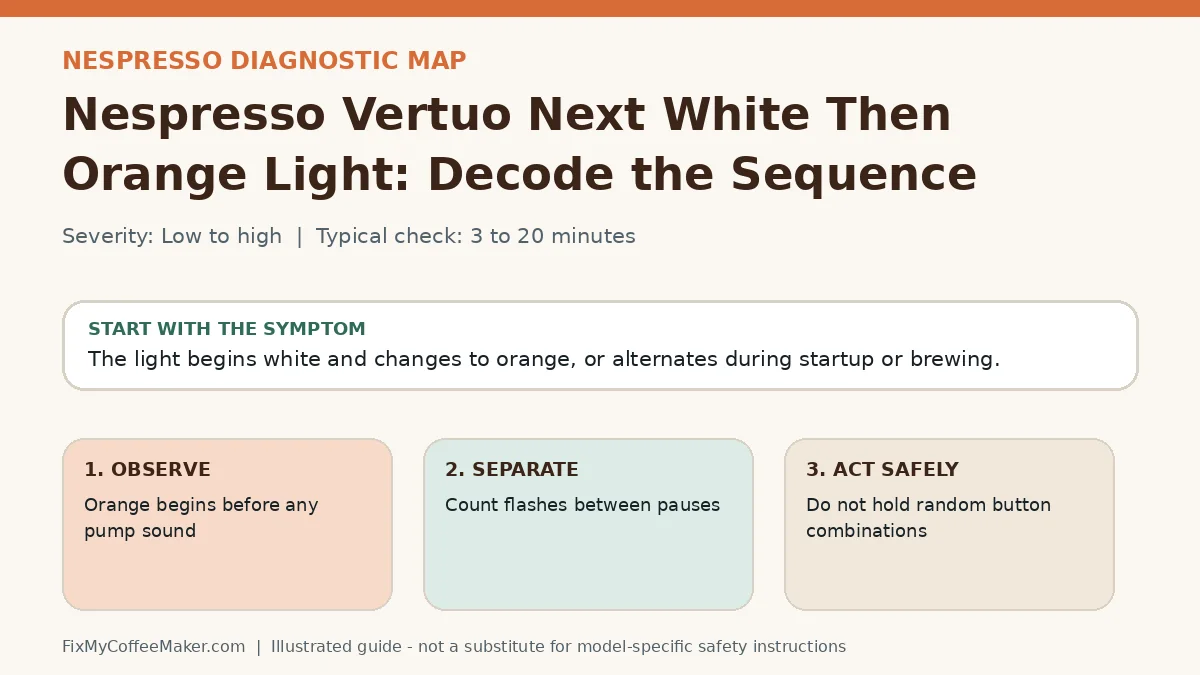
Owner-level observations and checks
Do not begin by replacing parts or repeating the full maintenance cycle. Complete these checks in order and stop if the machine behaves abnormally.
- Record a 15-second video of the full repeating pattern
- Count flashes between pauses
- Check the tank, tray, lever, and service door
- Let the machine cool and restart once
Illustrated video walkthrough
Original 8-second silent, captioned diagnostic animation. It is an illustrated decision guide, not footage of this exact machine.
Safe fixes, easiest first
- Do not hold random button combinations
- Remove and reseat all user-removable containers
- Close the head, lever, or service door without forcing it
- Allow the normal heat-up period to finish
- Match the recorded pattern to the official support guide
- Use one controlled power cycle, then seek support if the same pattern returns
How to interpret what happens next
Light becomes steady ready-state: the machine completed warm-up or detected the part
Pattern changes after reseating: a position sensor was involved
Pattern returns after one brew: maintenance or an intermittent fault remains
Fast red or error display persists: stop using the machine
Common misdiagnosis
Color descriptions in forum posts are unreliable. Warm white, amber, orange, and red can look different under kitchen lighting or on video.
When to stop troubleshooting
Owner-level checks end when the next step would expose wiring, a heater, pressurized plumbing, sharp internal parts, or a sealed grinder. Stop and contact the manufacturer or a qualified appliance technician when any of these apply:
- Red fault pattern persists after cooling
- The machine is hot but never reaches ready
- A door or lever would require force
- There is a leak, odor, smoke, or tripped outlet
Prevent the problem from returning
- Keep a photo of the model label
- Clean sensors and contact areas only as the manual permits
- Do not remove trays during moving parts or automated rinses
Sources and verification
This page paraphrases owner-level manufacturer guidance and adds an original symptom-first decision path. It does not reproduce a manual. Exact button sequences should always be checked against the model label and current official instructions.
- Nespresso machine assistance - official manufacturer information used to verify model terminology and owner-level procedures.
- Nespresso machine FAQ - official manufacturer information used to verify model terminology and owner-level procedures.
Editorial status: desk-researched against official support material; diagnostic media are original illustrations. We do not claim hands-on testing of this exact machine. See our evidence labels and report a correction.