
Quick diagnosis
Dry the brewer and fill it without turning it on. Leakage while idle points to the reservoir, tube, or seal. Leakage only after heating can involve an internal hose, overflow, or condensation path; water from the electrical base means the brewer should be unplugged and replaced or serviced.
What this symptom usually means
First identify where the water appears, when it appears, and whether it is clear or coffee-colored. Water under the machine can come from an overfilled tray, a tank connection, an outlet seal, or an internal hose. The timing narrows the source quickly.
Model-specific context: Do not open the base of a low-cost drip brewer. Internal heating components can retain heat and expose mains voltage.
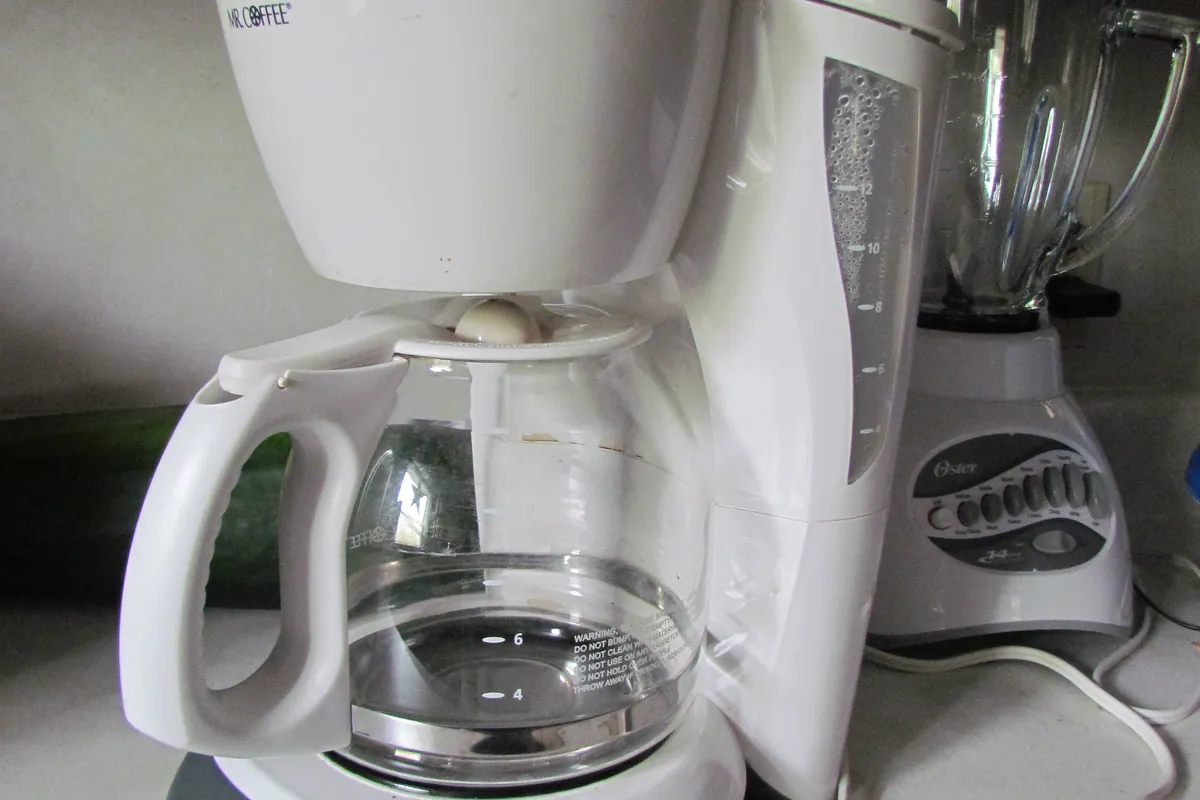
Clues to record before touching the machine
The fastest diagnosis comes from recording the machine's state before it is changed. Use your phone for a short video and write down whether the symptom occurs at startup, while heating, during grinding, after the pump starts, or during shutdown.
- Leak begins immediately after filling
- Reservoir level drops overnight
- Leak is hot during brewing
- Unplug, dry the machine and counter completely
- Fill the tank and wait five minutes without brewing
Most likely causes, in diagnostic order
The list below is ordered from common and externally testable conditions toward causes that may need qualified service. It is not a replacement for the error table or safety instructions for your exact model.
- Reservoir or internal hose is cracked
- Basket overflow runs down the housing
- Internal seal leaks when heated
- Drip tray or used-capsule bin is overfilled
- Water tank valve or seal is not seating
- Coffee path is blocked and pressure redirects liquid
- An internal hose or fitting is leaking
Safe, powered-off location checks
Do not begin by replacing parts or repeating the full maintenance cycle. Complete these checks in order and stop if the machine behaves abnormally.
- Stop use if water is emerging through the housing or base. Unplug only from a dry, safe area and allow the machine to cool.
- Record where the leak was first seen, using existing observations. Do not repeat a powered brew to reproduce a suspected internal leak.
- Inspect only removable owner-serviceable tanks and trays while the machine is off and cool. Do not open the case or press tools into tank valves.
- Contact manufacturer support for an unexplained or recurring leak. An exterior drying period does not prove the electrical interior is safe.
Visual reference and safety
The earlier generic animation has been withdrawn for this page. Use the exact-model manufacturer reference and the written safety guidance instead; no hands-on repair demonstration is claimed.
Safe fixes, easiest first
- Stop use if water is emerging through the housing or base. Unplug only from a dry, safe area and allow the machine to cool.
- Record where the leak was first seen, using existing observations. Do not repeat a powered brew to reproduce a suspected internal leak.
- Inspect only removable owner-serviceable tanks and trays while the machine is off and cool. Do not open the case or press tools into tank valves.
- Contact manufacturer support for an unexplained or recurring leak. An exterior drying period does not prove the electrical interior is safe.
How to interpret what happens next
Leak occurs while idle: suspect the tank, valve, or reservoir seal
Leak begins only during brewing: inspect outlet path and seals
Water collected inside the designated tray differs from water escaping the housing; volume alone does not establish safety.
Water emerges from the base: unplug and arrange service
Common misdiagnosis
Condensation and automatic-rinse water in the drip tray can be normal. Water spreading from beneath the electrical housing is not.
When to stop troubleshooting
Owner-level checks end when the next step would expose wiring, a heater, pressurized plumbing, sharp internal parts, or a sealed grinder. Stop and contact the manufacturer or a qualified appliance technician when any of these apply:
- Water reaches the cord, plug, controls, or electrical base
- The outlet trips
- The leak is hot or pressurized
- A cracked internal part is visible but not user-serviceable
Prevent the problem from returning
- Empty trays before they reach the full marker
- Lift the tank straight up rather than twisting
- Keep coffee grounds off seals and mating surfaces
Sources and verification
This page paraphrases owner-level manufacturer guidance and adds an original symptom-first decision path. It does not reproduce a manual. Exact button sequences should always be checked against the model label and current official instructions.
- Mr. Coffee support - official manufacturer information used to verify model terminology and owner-level procedures.
Editorial status: desk-researched against official support material; diagnostic media are original illustrations. We do not claim hands-on testing of this exact machine. See our evidence labels and report a correction.