Quick diagnosis
Run a pod-free brew into a measuring cup. If the shortage repeats, check water level, reservoir seating, needle restriction, and any saved cup-size setting. If only pod brews stop, focus on the pod and puncture path.
What this symptom usually means
A brew that starts and stops early can be caused by programmed volume, low water detection, restricted flow, a lid or adapter sensor, or thermal protection. Measure output and listen to the final seconds of the cycle.
Model-specific context: Some Keurig brewers pulse by design, so judge the final volume rather than short pauses during the cycle.
Clues to record before touching the machine
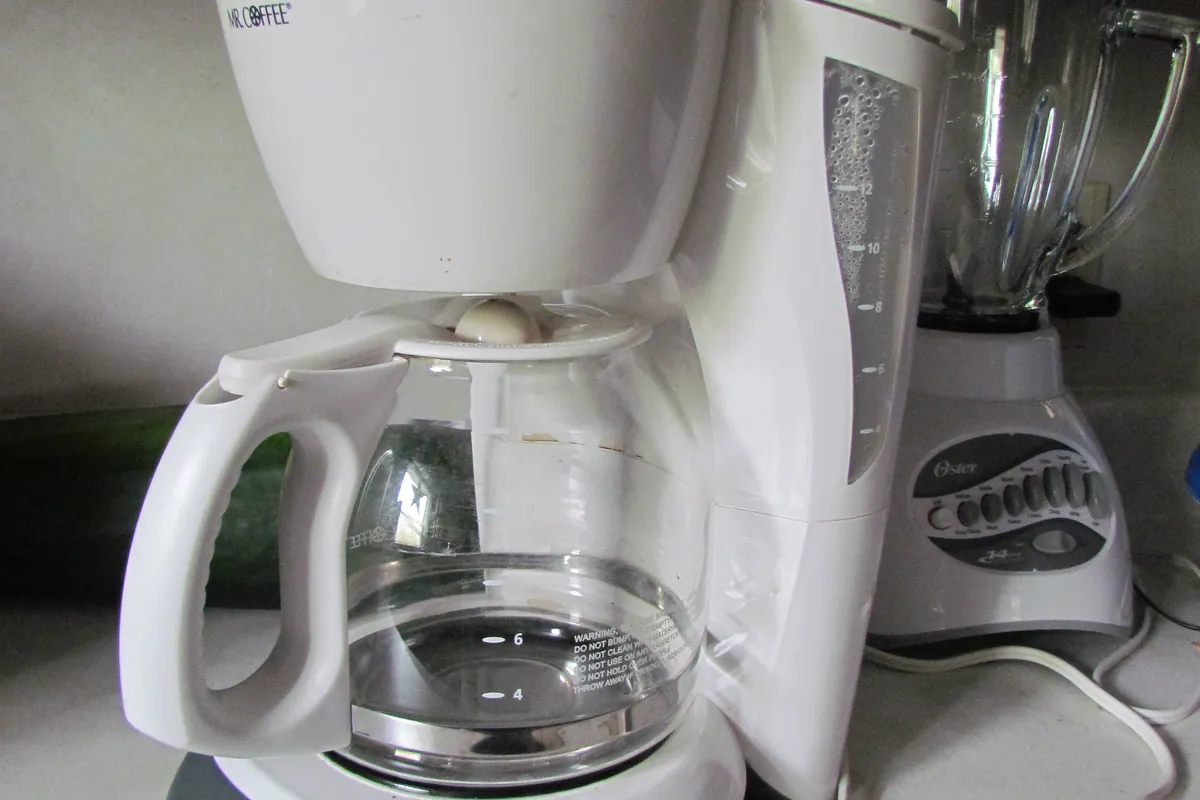
The fastest diagnosis comes from recording the machine's state before it is changed. Use your phone for a short video and write down whether the symptom occurs at startup, while heating, during grinding, after the pump starts, or during shutdown.
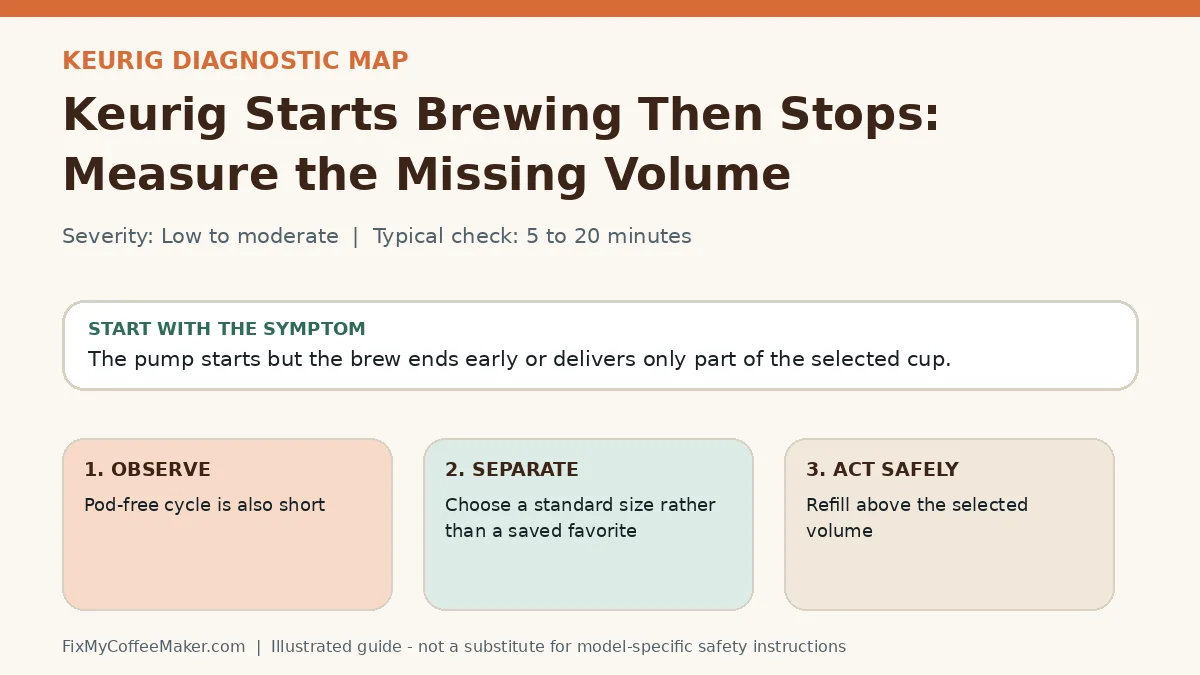
- Pod-free cycle is also short
- Pump gets quieter near the stop
- Selected size recently changed
- Run a water-only brew into a measuring cup
- Choose a standard size rather than a saved favorite
Most likely causes, in diagnostic order
The list below is ordered from common and externally testable conditions toward causes that may need qualified service. It is not a replacement for the error table or safety instructions for your exact model.
- Needle is partly blocked
- Reservoir inlet briefly loses water
- Thermal protection interrupts repeated brews
- Cup size was reprogrammed
- Water level or tank seating is marginal
- Needle or outlet is partly restricted
- Thermal protection or control fault stops the cycle
Owner-level observations and checks
Do not begin by replacing parts or repeating the full maintenance cycle. Complete these checks in order and stop if the machine behaves abnormally.
- Run a water-only brew into a measuring cup
- Choose a standard size rather than a saved favorite
- Reseat the tank and brew adapter
- Compare pump sound at the moment it stops
Illustrated video walkthrough
Original 8-second silent, captioned diagnostic animation. It is an illustrated decision guide, not footage of this exact machine.
Safe fixes, easiest first
- Refill above the selected volume
- Reset the cup-size programming if documented
- Clean user-accessible needles and outlets
- Remove any pod or grounds and retest
- Allow cooling between repeated tests
- Seek support if the stop point is identical after cleaning
How to interpret what happens next
Correct volume after reset: programming caused the symptom
Volume improves after cleaning: restriction was involved
Stops when hot but not cold: thermal protection is possible
Pump stops abruptly with error lights: record the pattern
Common misdiagnosis
A marked cup size is a target, not a laboratory volume; retained water and coffee absorption create small differences. Large, repeatable shortages deserve diagnosis.
When to stop troubleshooting
Owner-level checks end when the next step would expose wiring, a heater, pressurized plumbing, sharp internal parts, or a sealed grinder. Stop and contact the manufacturer or a qualified appliance technician when any of these apply:
- Machine overheats
- Pump strains with no output
- Leak develops
- Electrical protection trips
Prevent the problem from returning
- Use a water-only volume check monthly
- Keep needles and outlets clear
- Avoid running repeated empty cycles
Sources and verification
This page paraphrases owner-level manufacturer guidance and adds an original symptom-first decision path. It does not reproduce a manual. Exact button sequences should always be checked against the model label and current official instructions.
- Keurig support - official manufacturer information used to verify model terminology and owner-level procedures.
Editorial status: desk-researched against official support material; diagnostic media are original illustrations. We do not claim hands-on testing of this exact machine. See our evidence labels and report a correction.